ADD STYLE AND TEXTURE TO YOUR WALLS
You don’t need to be a professional contractor to create a board and batten decorative panelled wall in your home.
DIY in 8 simple steps!
What you’ll need:
pencil
yardstick
2 planks of 1” x 3” lumber
hammer and nails or nail gun
vertical slats (battens)
wood glue
wood filler
caulking
sanding block
paint tray and paintbrushes
high-quality SICO paint
Try SICO Clean Surface for unmatched washability!

STEP 1: Measure and draw the design on the wall
Measure and draw a horizontal line the wall where you want to install the top 1x3 plank and then draw the rest of the design.

STEP 2: Attach the bottom plank
Attach the horizontal 1x3 plank along the bottom of the design, using glue and nails.

STEP 3: Attach the wooden battens
Attach each vertical slat (batten) to the wall with glue so that each fits perfectly between the bottom and upper planks.

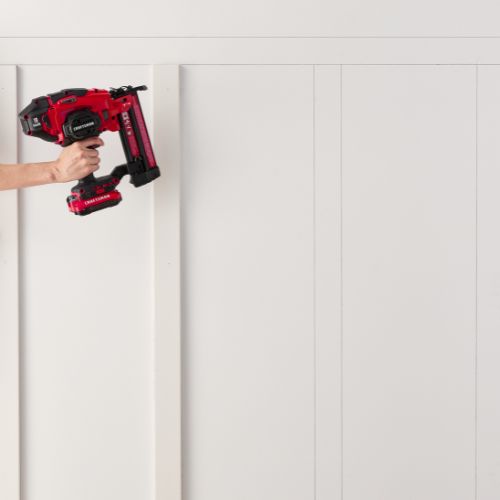
STEP 4: Secure the battens with nails
Once you’ve spaced the slats at equal distance from one another, nail the slats to the wall.

STEP 5: Fill the holes and caulk
Fill all the nail holes with wood filler and caulk the spaces where the edges of the boards meet the wall. Wait for the wood filler to dry completely before moving to the next step.

STEP 6: Sand the surface
Sand the filled nail holes so that the surfaces of the planks are smooth.


STEP 7: Paint the wall
Paint the top and bottom planks, the battens and wall areas in between with the Sico paint colour of your choice. Let dry and voilà! Your board and batten panelled wall is complete!

STEP 8: Add furniture and accessories
Finally, decorate your space with the furniture and accessories you love.
In no time, you’ve transformed your room and given it a whole new personality. Enjoy this elegant décor trend and admire the masterpiece you’ve created every time you look at your wall!
Looking for more creative projects to do yourself? Check out our DIY section!


