DIY - Créez avec Sico
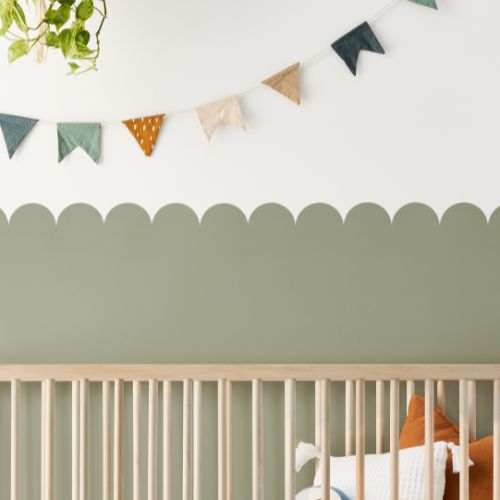
Comment peindre un mur aux motifs arrondis en 5 étapes

Décorez votre mur avec goût en optant pour un motif original
Vous souhaitez que vos murs soient plus attrayants et tendances, mais vous êtes en quête d’inspirations pour y arriver? Une bonne façon de transformer facilement votre espace et d’y ajouter du style est d’opter pour la création d’un mur aux motifs arrondis. Une technique en cinq étapes faciles à suivre!
Ce dont vous aurez besoin :
crayon
grande règle
ruban de peintre
couvercle Tupperware arrondi
pot de peinture, bac à peinture, rouleaux et pinceaux

Étape 1 : décider de la hauteur des motifs
Décidez de la hauteur du mur que vous souhaitez peindre pour la création de votre mur festonné.

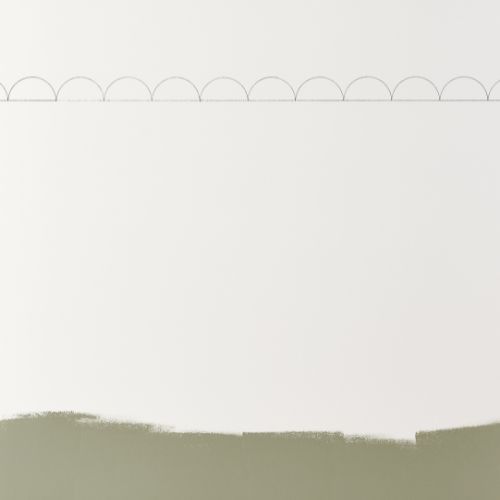
Étape 2 : tracer la ligne
Il faut tracer la ligne horizontale droite sur votre mur aussi loin que vous le souhaitez pour les motifs arrondis.

Étape 3 : dessiner les demi-cercles
Utilisez un couvercle arrondi pour dessiner les demi-cercles avec un crayon, créant ainsi les motifs arrondis sur le mur. Vous pouvez utiliser du ruban adhésif pour que le couvercle soit bien aligné chaque fois.
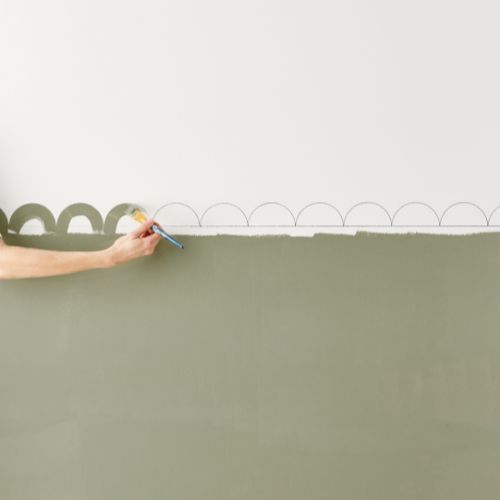
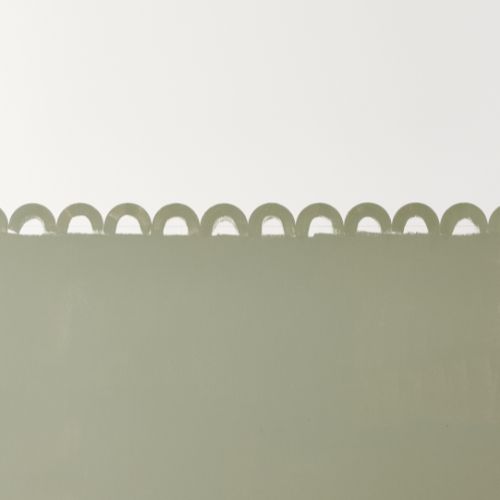
Étape 4 : peigner le mur
Peignez le mur en dessous des motifs de la couleur Sico de votre choix et servez-vous d’un petit pinceau pour peindre le long des lignes des demi-cercles. Laissez sécher et le tour est joué!
Étape 5 : ajouter les accessoires
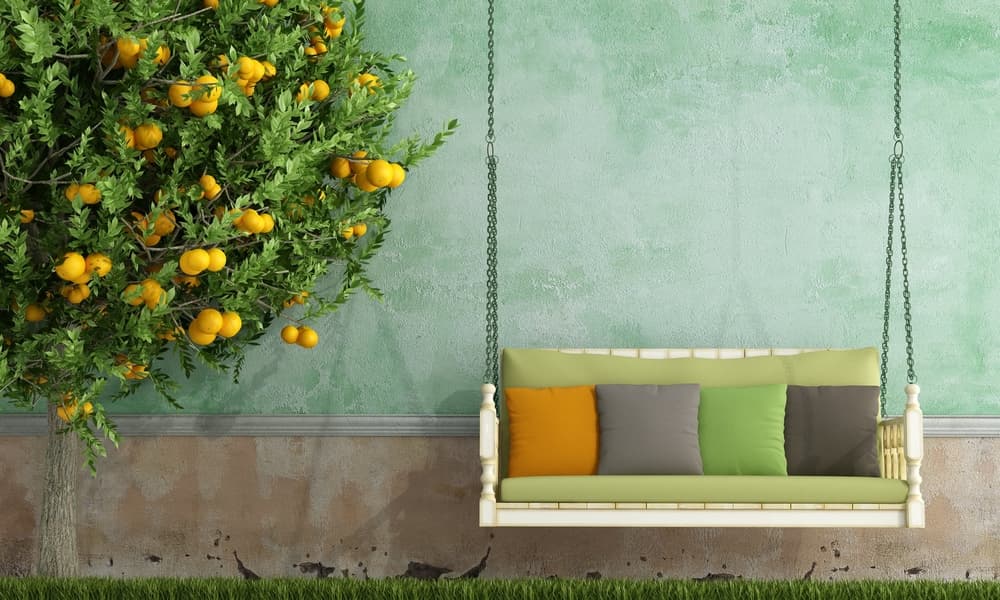
Finalement, il ne reste plus qu’à décorer et à aménager votre pièce avec vos accessoires et meubles préférés.
À présent, votre mur aux motifs arrondis est terminé et prêt à être admiré. Un réel plaisir des yeux pour les petits et les grands!
En quête d'autres projets créatifs à faire soi-même? Découvrez notre section DIY.
À LIRE ÉGALEMENT:
- Créer un mur aux formes géométriques en 7 étapes simples
- Comment créer un mur d’intimité extérieur en 6 étapes
Couleur de l’année 2021
Paruline bleue
Vous êtes à la recherche de confort et d’optimisme? Tournez-vous vers la nature et laissez-vous inspirer par notre palette de l’année 2021.
Voir notre couleur de l’année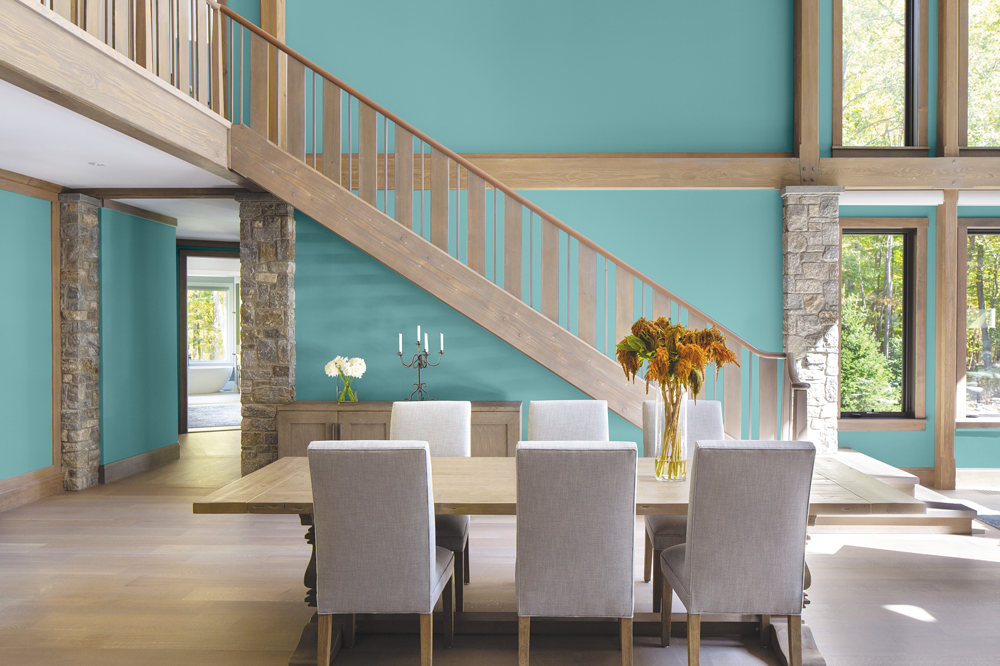
Explorez nos produits
Peintures et teintures de grande qualité pour tous vos projets
Couches de fond, peintures d'intérieur, peintures d'extérieur, teintures d'extérieur, produits pour peintres professionnels
Trouvez la bonne peinture pour votre maison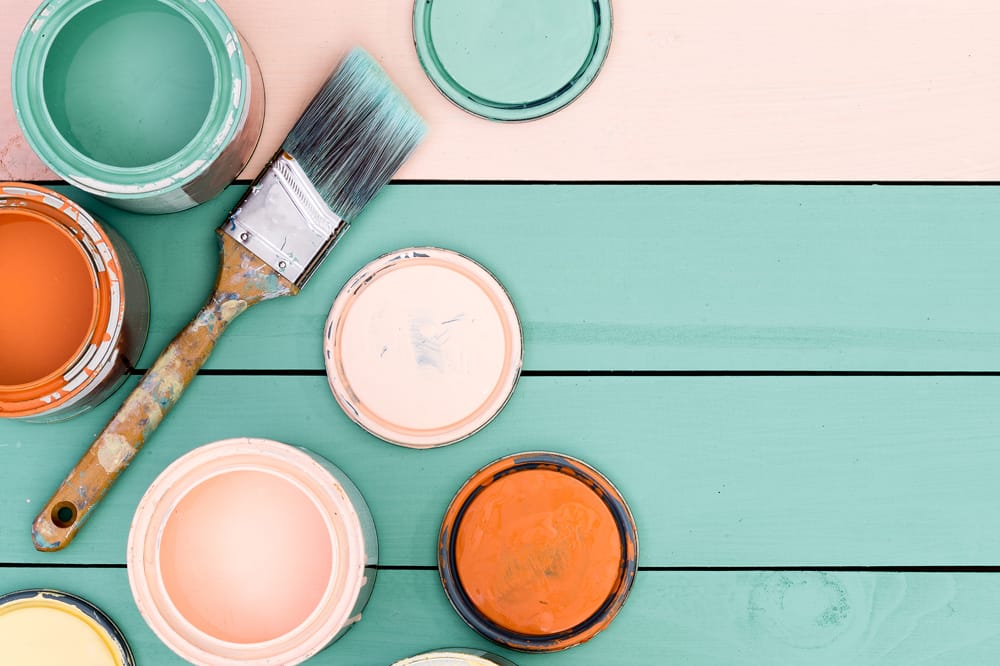
Laissez-vous tenter
Vous laisserez-vous charmer par le style « farmhouse » moderne?
Vous voulez en savoir plus?
Consultez cet article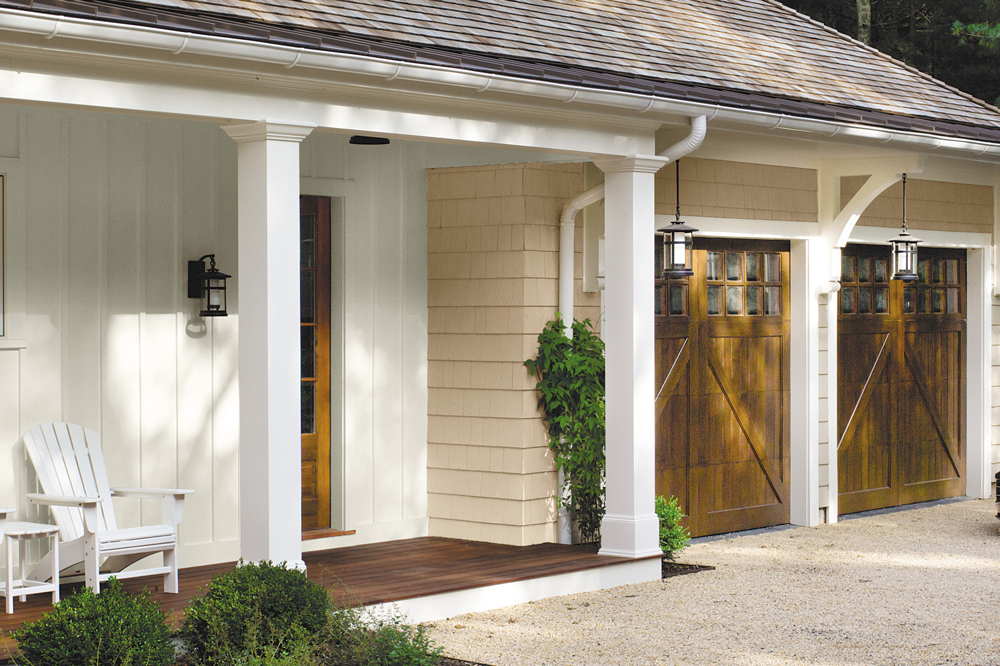

Nos Conseils
Nos conseils pour peindre une pièce et plus
Consultez nos articles pour obtenir des conseils et une foule d'idées sur différents projets de peinture.
JETEZ UN COUP D'ŒIL À NOS CONSEILSNos Conseils
Nos conseils pour peindre une pièce et plus
Consultez nos articles pour obtenir des conseils et une foule d'idées sur différents projets de peinture.
JETEZ UN COUP D'ŒIL À NOS CONSEILS
Inspiration couleurs et conseils
Chaque teinte crée une différence
Les tendances ne cessent de changer. Heureusement, les experts en couleur Sico sont là pour vous guider dans vos choix.
Consultez nos idées et conseils